Ever made portuguese custard tarts?? Ever even eaten them??
If you answered no to either of these questions, you need to rectify the situation immediately! Sooner if possible. They are sooo tasty, you won't know how you've lived without them! They are a custard tart that is baked in flakey, rather than crumbly, pastry. And if you think they sound difficult to make, they're not. My sister, who will admit that she's not into baking, made them recently and they turned out fabulously! Give them a go, here's what you need to do.

In a saucepan, whisk:
3 egg yolks, 1/2 cup castor sugar and 2 Tablespoons of cornflour.
Gradually whisk in:
230ml cream and 2/3 cup of milk. Place the pan over medium heat and cook, stirring, until the mixture thickens and coats a wooden spoon well.
 Before the milk and cream are added.
Remove from the heat, and stir in 2 teaspoons of vanilla extract. Transfer to a bowl, cover the surface with plastic wrap to prevent a skin forming (the plastic needs to touch the custard) and leave to cool.
 About to add the plastic to cool. It is so hard not to just spoon this into your mouth at this stage!
Preheat the oven to 190 C. Lightly grease a 12-hole muffin tin.
Cut 1 sheet of puff pastry in half. Put one half on top of the other and set aside for 5 mins. Roll the pastry tightly lengthwise and cut the pastry log into twelve 1cm rounds.
 10 of my pastry rounds.
Lay each pastry round on a lightly floured surface, and use a rolling pin (or some PVC pipe in my sis's case!!) to roll out until each is 10cm in diameter.
 A rolled one next to a 'non-rolled' one!
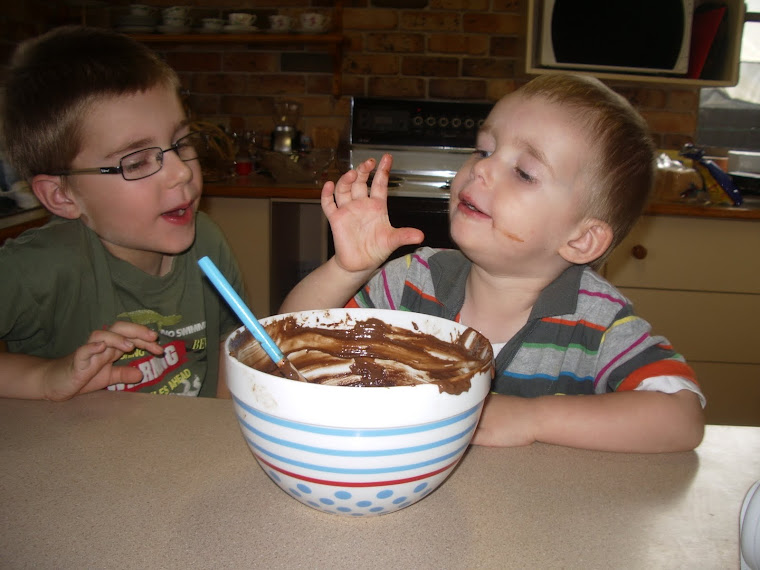
Press the pastry rounds into the muffin tin as you go. Spoon the cooled custard into the pastry cases and bake for 20-25 minutes, or until the pastry and custard are golden. Lick the bowl as best you can when finished spooning the custard out! It is just. that. good.
 Ready for the oven.
I have to warn you here. The custard does bubble in the oven. It needs to do this, so please don't stress. Of course, sometimes it will bubble over the sides, but that's ok, you just have to peel it off to eat it!!
Leave the tarts in the tin for 5 minutes, then transfer to a wire rack to cool completely.
Try, if you can, to eat only one at a time, I dare you!! They are so more-ish. I've been drooling and craving them the whole time I've been writing this! I even had to get up and get a chocolate to satisy me (it's not the same as CUSTARDDDDD).
 These are the 10 that didn't bubble over and end up looking deranged!
So have a go, I'm sure you can do it. This recipe is constantly bookmarked in my Bill Granger 'Every Day' cookbook. It was the first Bill Granger cookbook I ever got (a present from Mark and the boys), and it's never let me down. Bill's recipes seem to be failsafe, at least the ones I've tried making!
I hope I've inspired someone to have a go. If so, let me know how they turned out!!
 The reason I really made them was that I'm almost out of muffins in the freezer. We've been back at school one week, and already my stocks are getting low! So I needed something sweet for morning teas, without to much sugar and preservatives.
 I do try to feed us few preservatives. I'm not fenatical (how do you spell this word?) about it, but I try wherever possible.
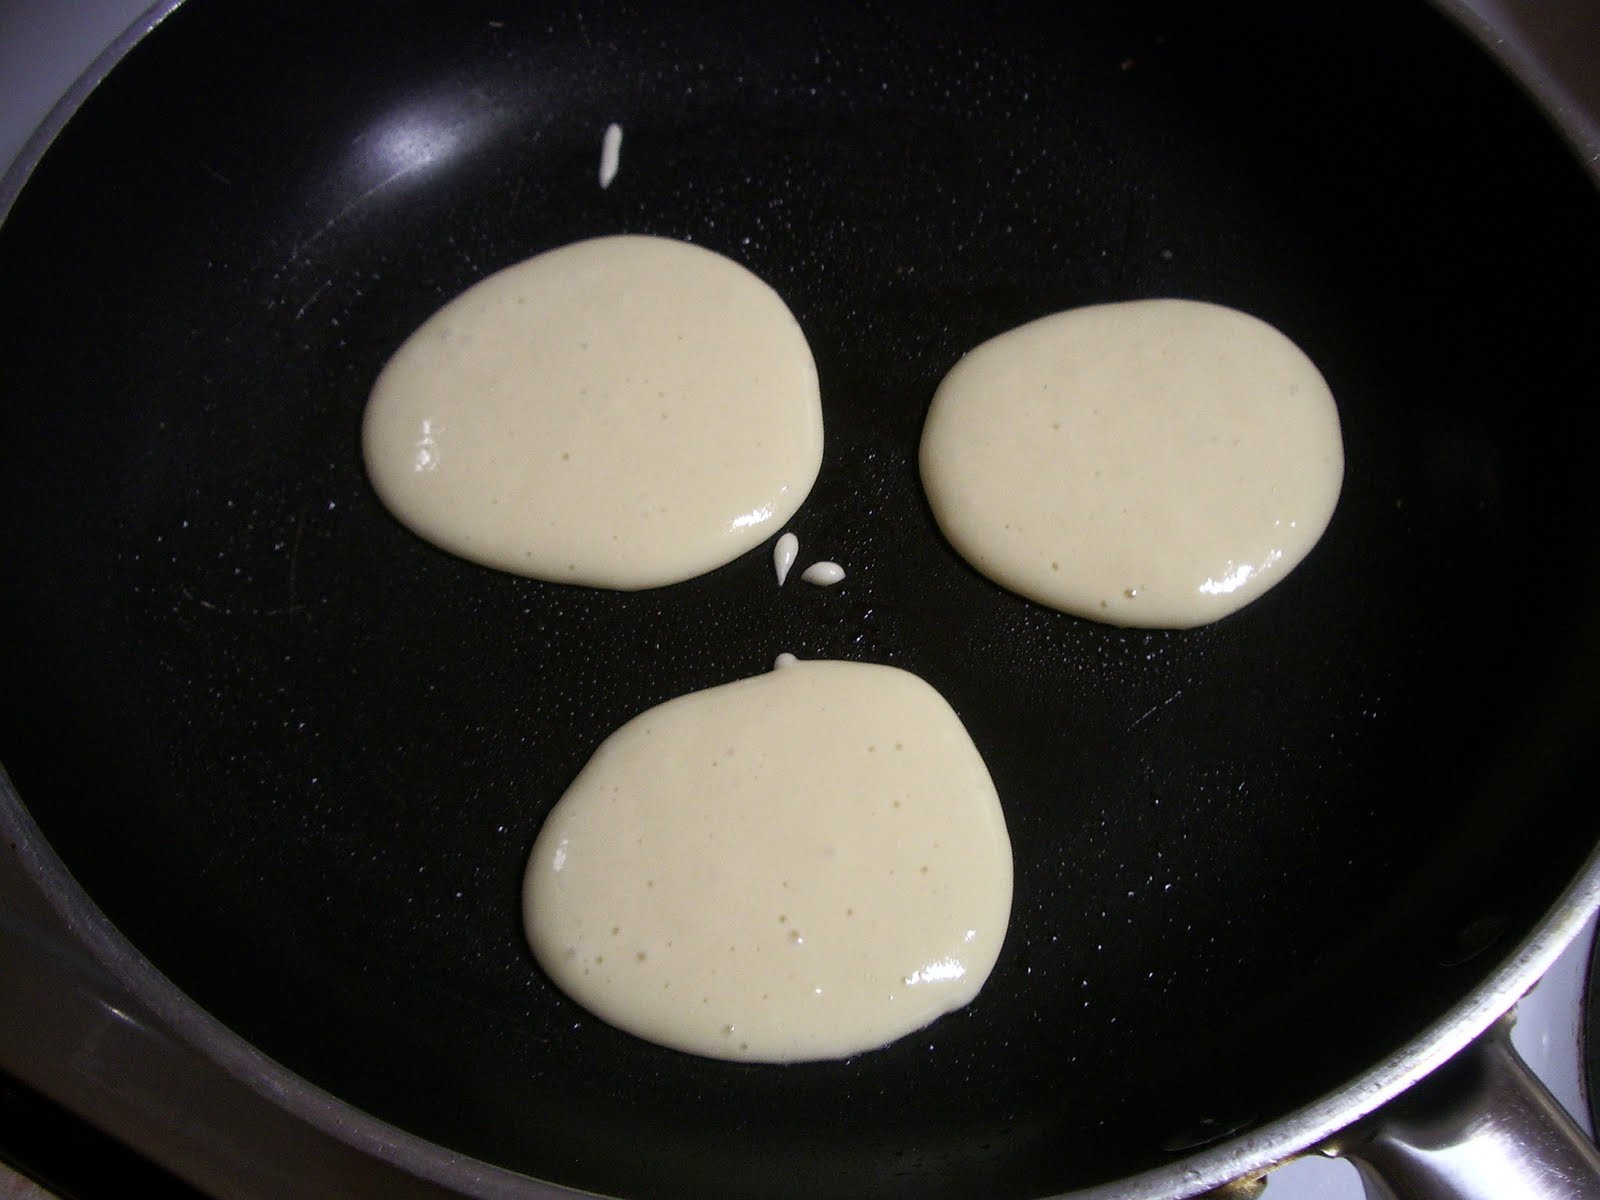 The other requirement I had was to be cheap. So, I whisked together (mixing after each new addition to the bowl) one egg, 1/4 cup of caster sugar, 3/4 cup of milk and a cup of self-raising flour. Spoon mixture into the pan, wait for it to bubble, flip it and a minute later you have pancakes. Couldn't be easier, couldn't be cheaper.
 So, if you're looking for something to spread with jam and add to the lunch-boxes, whip up a batch of these, and see if they last (doubling is allowed!!)
 So, if you're looking for something to spread with jam and add to the lunch-boxes, whip up a batch of these, and see if they last (doubling is allowed!!)